8 weeks to the day after I plant green bean seeds, I am usually able to go out and harvest beans for the first time. Every few days in the summer I end up canning beans. Want to know how? Read on. Make sure you follow the direction for your own pressure canner, though, and for your own altitude.
First, you'll need one of these. For low-acid foods like vegetables and meats, you have to use one. It gets hotter than boiling so the food is preserved properly.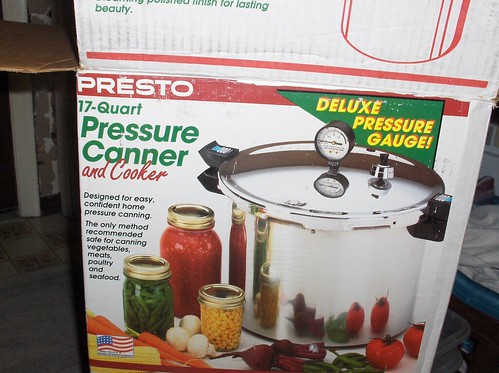
You'll want to read through the directions that come with your canner to familiarize yourself with them, but they are all similar.
Then, I get some clean jars in the clean sink and let them sit in hot water until I'm ready to fill them. If the jars are hot, they are less likely to break when you add hot liquid. I didn't use to do this until one summer half of the beans I did didn't seal. I don't worry about it for fruits, though.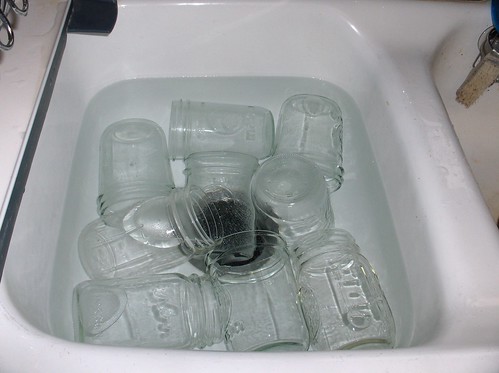
Then you'll want to put some water in your canner and start heating it up. Mine wants about 3 quarts.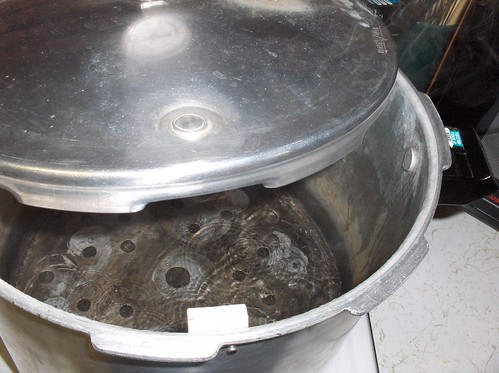
You'll also need some vinegar and some salt. The vinegar helps white mineral deposits from parking themselves on your jars when you pull them out of the canner (especially if you have hard water like me) and the salt is for the beans. You'll want canning/pickling salt because it doesn't have the anti-caking agents that table salt has that can make the liquid in your jars cloudy.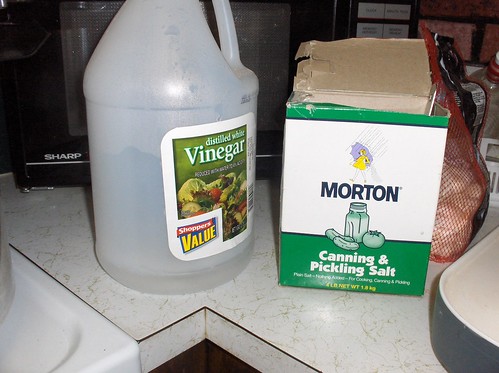
Before you start all this other stuff, you'll want to prepare the beans. Wash them, snap off both ends, and break them into the lengths you want. Smaller pieces fit better into the jars but take longer to prepare. Mine are about 2 inch pieces.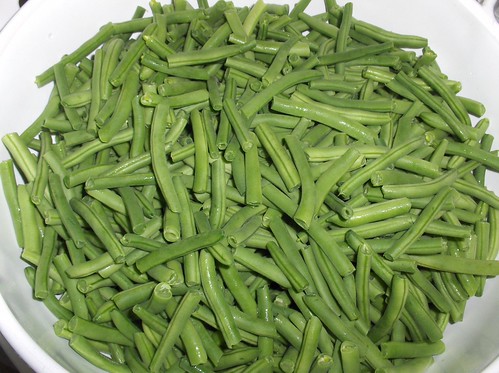
You also want to get a big pot of water on to boil. This is for filling the jars with after we put in the beans. This method of canning is called raw pack. The beans are raw when we put them in the jars. Hot pack would be if we cooked the beans in water and then packed them in the jars.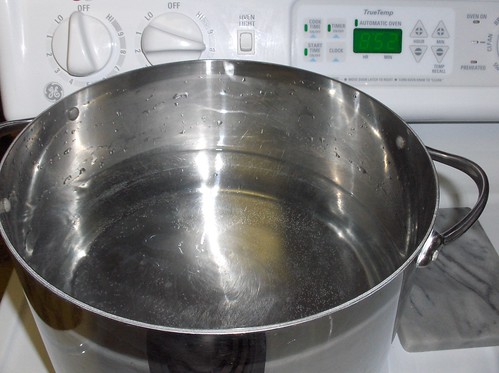
The next pot you need to get on the stove is a small pan with a little water in it and the flat lids. Follow the directions on the package, but typically you bring the water to a simmer and let the lids sit until you're ready for them.
Canning really heats up the kitchen. Look at all these pots!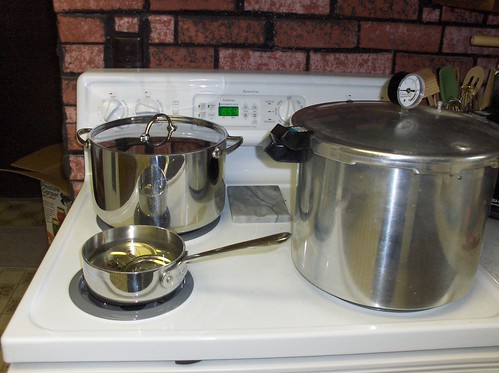
Next you want to start putting the beans into the empty jars. Shake them down a little as you go to fill in any big pockets. But then leave an inch of room at the top. This is called headspace and will help the jar seal.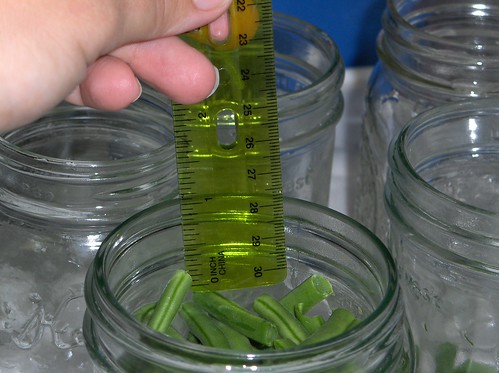
After you have all the jars filled, put some salt in each jar. I use 1/2 teaspoon per pint. You can use less or more or none. That is one of the nice things about preserving your own food.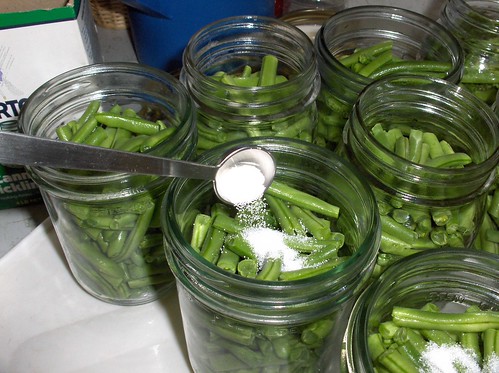
I put the salt in after the beans so I know which jars have salt in them. Also, if you preload the jars with salt and you've under- or over-estimated how many jars you'll need, that's another thing to remember.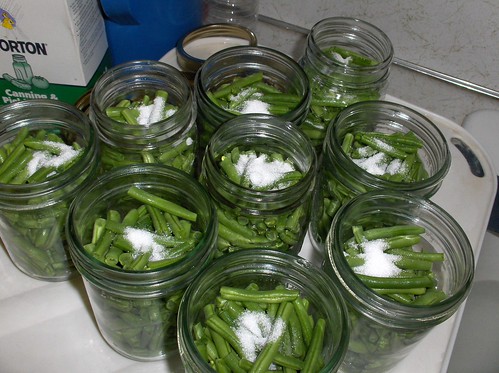
Now add boiling water to each jar, leaving about an inch of headspace (it's not critical to be exact at this point). You can use a wide-necked funnel but when it's just water, I don't mind spilling. For sticky stuff I definitely use the funnel.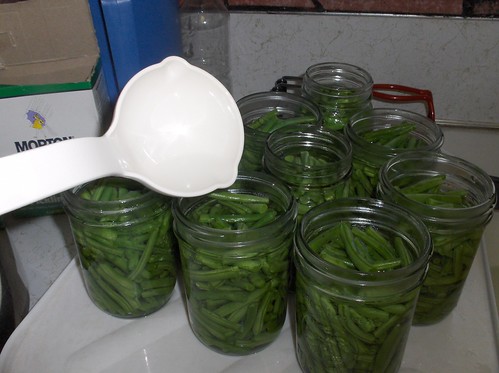
Next you'll take a thin plastic utensil--either a knife or the handle of a spatula (there is a special tool made for this, too, I think) and run it around the edges of the jar to release any air bubbles that may still be trapped. Plastic won't accidentally break a jar like metal could.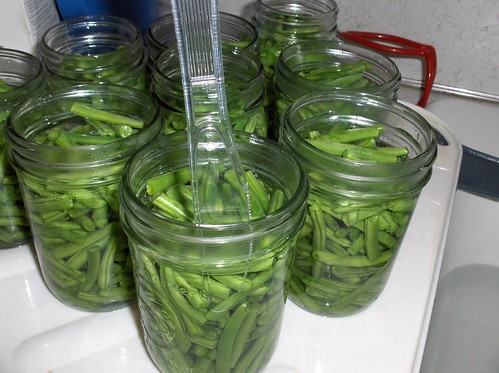
Now measure your headspace again. It needs to be an inch. If you need more, use a spoon to borrow water from the next jar over that looks like it has too much. Or ladle more from the big pot of water. If you have too much, spoon it out.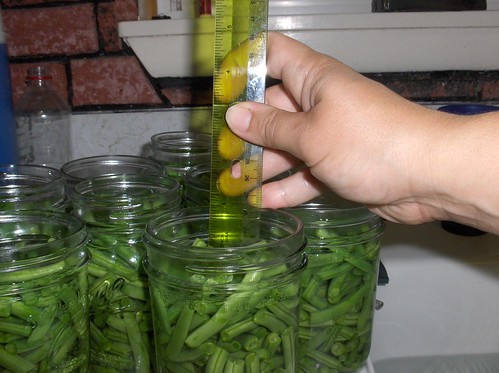
Almost done! Now get a clean rag or washcloth and get it wet and wipe the rims of the jars. This makes sure that nothing gets in the way of the seal.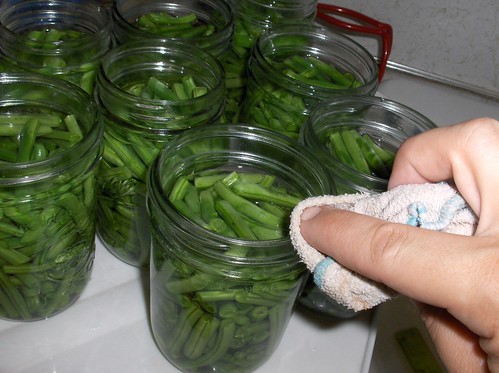
Now it's time for lids. If you don't have one of these nifty magnetic wands, use some tongs or something because you will burn your fingers.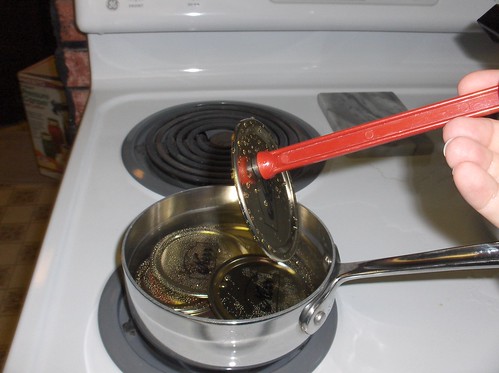
Center the lid on the jar.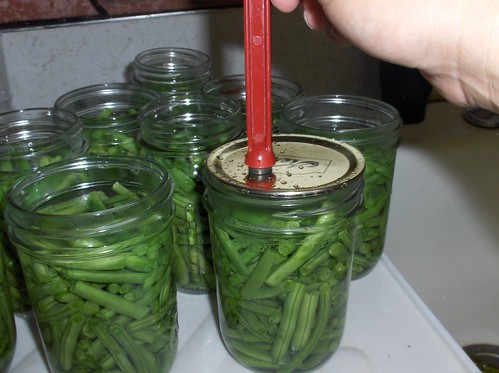
Don't forget that you need to work quickly but don't rush and forget something. Screw the ring on over the lid. When you start to meet some resistance, give it a little more twist. Don't screw them on tight or the air can't escape and let the jar seal.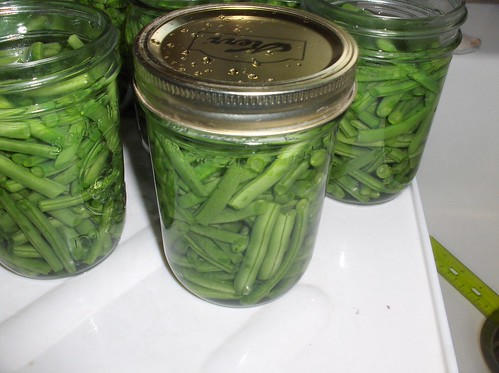
Now put the jars into the canner that has the boiling water in it. These jar tongs are very helpful.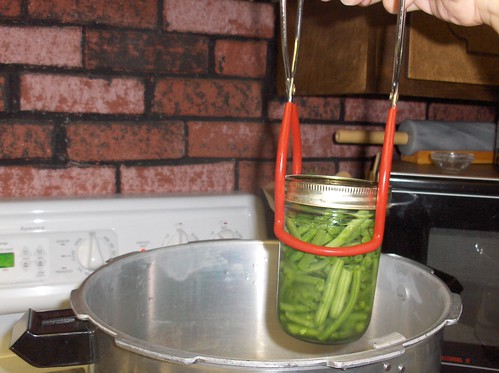
All the jars in the canner. In a pressure canner, it's all right if the jars touch each other. You can even stack small jars on top of each other. I had to cram these in to get them to fit.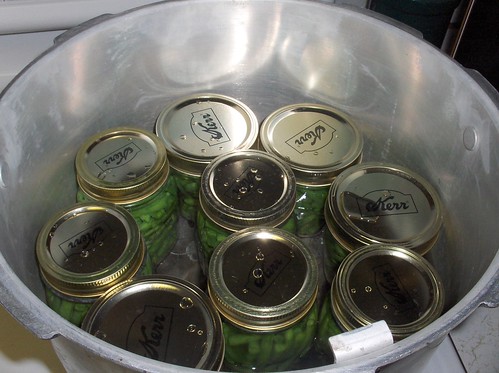
Now I put the lid on and twist it so it locks. Your canner may be different but it will be similar.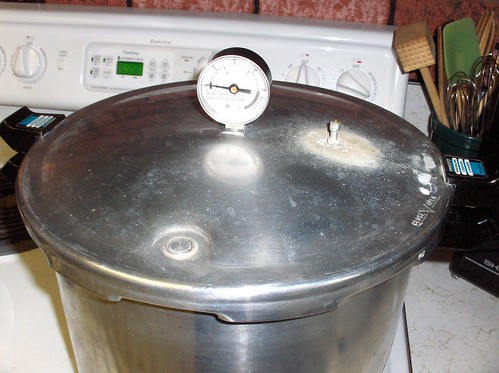
When the steam starts coming out of the vent in a steady stream, set the timer for 7-10 minutes. This exhausts all the air out of the canner.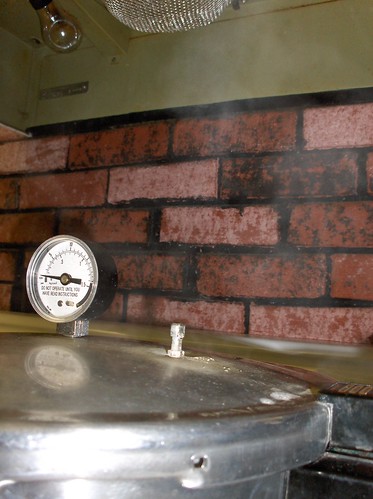
When the time is up, you put the pressure regulator on. This will allow the pressure to build up inside. The little button on the lid of this canner pops up to let you know there's pressure in there.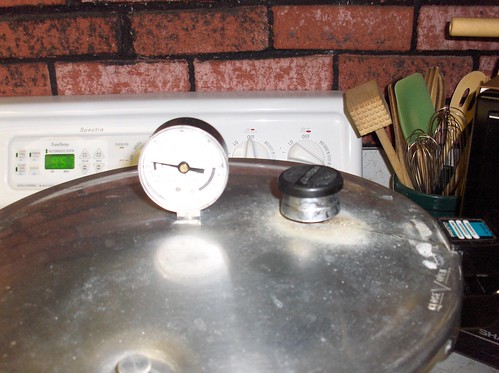
The dial will start turning. When it gets to 12 pounds, I start the timer. Most instructions in canning books are for 10 pounds. Then you add pounds to adjust for altitude. Here in the Boise area we can at 12 pounds. Set the time for 20 minutes. If the dial should happen to go below 12, stop timing and restart again when it gets back to 12. I always reduce the heat because the dial keeps going up. I haven't perfected it yet to keep it at 12, but too much pressure is fine.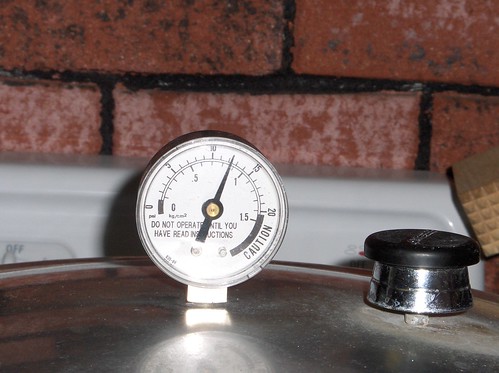
When the timer rings, remove the canner carefully from the heat. Now let it sit until the dial reaches 0 and the little button drops, indicating there's no pressure left in the canner. Don't try to let any pressure out by tipping the regulator or cool it quickly by putting it in water. You'll just break the jars and probably burn yourself.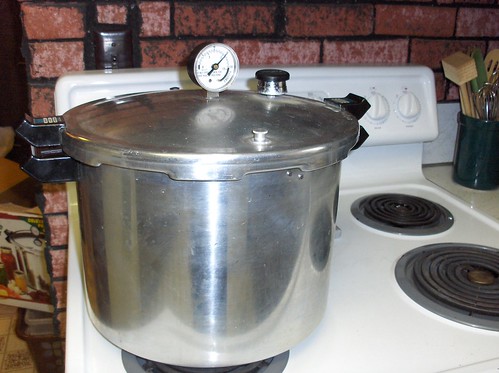
When the pressure is gone and the button drops, remove the regulator and carefully open the canner away from you.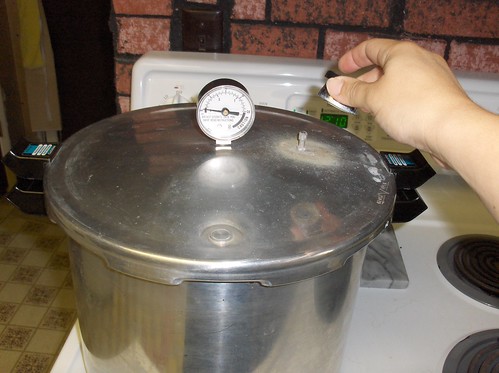
Lift the jars out one at a time, trying to keep them level.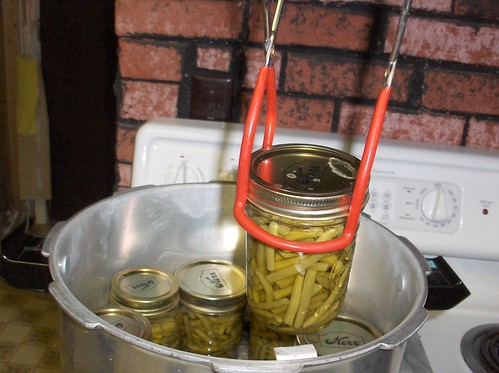
Put the jars on clean towels at least an inch apart so they can cool. Leave them until they are completely cool.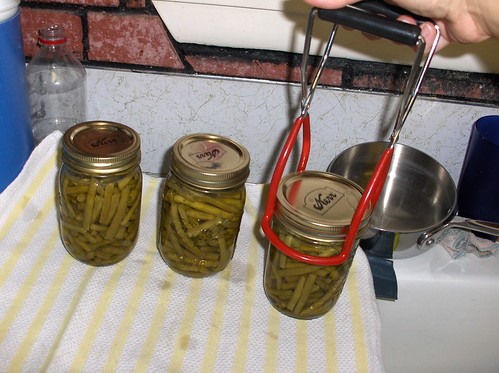
Now let them cool for up to 24 hours. Usually I wait 10 or 12. They'll be room temperature.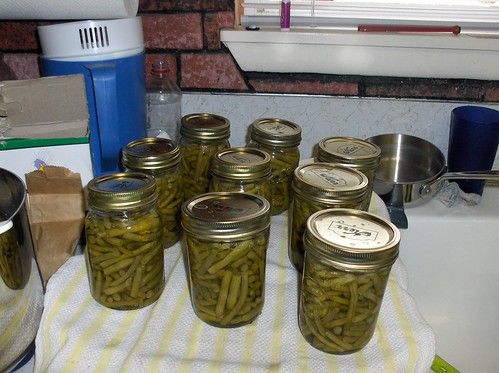
When they're all cool, wipe the jars off if they're dirty (not usually with beans, but peaches will practically require a bath) and write the date on the lids. If you did more than one batch in a day, label the batches with numbers or letters so you know which is which. Also check to make sure that the center of each lid is down (it doesn't pop up and down when you press it) to check the seal of each jar. I have found that the longer it takes me to get the jars out of the canner, the better they seal. I had to run a quick errand while these beans were depressurizing so I didn't take them out right away. They had all sealed before I even opened the canner. But if you rush to get the lid off, then get them out quickly, they are more likely to not seal. So go check your email before you take the jars out of the canner. Also, before you store the jars, remove the rings.
If you have some jars that didn't seal, you can either re-process them with new lids and rings or you can put them in the fridge and eat them in the next couple days.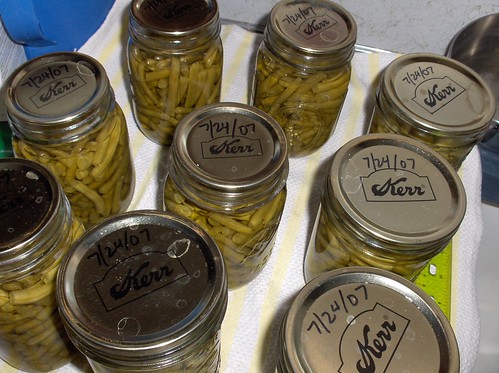
When you're ready to eat them, as an extra precaution, it is recommended to boil the beans for at least 10 minutes since they are low-acid. I add a pat of butter and serve them to my hungry kiddos!
25 July 2007
How to Can Green Beans

13 July 2007
Making something from nothing
These days I feel like I spend so much time washing dishes and wiping counters, and weeding and moving hoses, which allows for a lot of introspection but not a lot of time for blogging. After I made dinner a couple times this week, I realized that I had been creating something out of nothing. Saturday afternoon I hit the grocery store to look for some dinner inspiration and boneless pork chops were on sale for "buy one, get one free." This made the per-pound price only $2 which is a bargain for any type of boneless meat these days. I picked up two packages, put one in the freezer, and left the other in the fridge for Sunday's dinner (what did I get for Saturday's dinner, you ask? BOGO tilapia fillets which I fried up in a pan. Came to $3/pound which might be the cheapest tilapia I've ever seen) Sunday night I sauteed the pork chops and made a creamy gravy with the drippings. There were two chops left over, plus some sauce, so I thinly sliced them, put them in a container with the gravy and put them in the fridge for a future dinner.
The designated leftover night arrived, and I cooked the remainder of a package of fettucini that I found in the pantry (I weighed it and it was a little more than 5 oz). Then I mixed the sliced pork and gravy with a can of cream of celery soup, about 1/2 cup sour cream, 1/2 cup grated cheddar cheese, and the cooked noodles. I put it all in a greased 10x8 baking dish, sprinkled more cheese on top, and baked it until it started to bubble on the edges, maybe 20 minutes. It turned out really yummy!
Then the next night, I happened to have leftover cooked shredded chicken in the fridge, as well as a bag of mixed greens from the garden. They had been in there for 10 (!) days but had been washed and spun dry, so they were still crisp and fresh. I also cut up some tomato, cucumber, and onion, and had some pita bread so we ate chicken salad pitas for dinner. They were delicious. And there was enough left that I got one for lunch the next day.
Both of these dinners were created with leftovers that were used in a completely different way than they had been served the first time. I certainly don't expect you to ever be able to reproduce them (I'll never even be able to reproduce the pork casserole because I didn't measure anything when I made the gravy or the casserole) but this is the sort of living that reduces waste and encourages creativity with what you have. And I think that is the definition of being frugal.
21 April 2007
Make your own yogurt
While I still buy those outrageously expensive individual cups of yogurt on occasion, I almost always have a quart or two of homemade yogurt in the fridge. I use it mostly in fruit smoothies. Some frozen fruit and some yogurt, blended up, makes a delicious and nutritious breakfast drink. It is super easy to make your own yogurt, for a fraction of the cost of store-bought.
Things you will need:
Milk
Saucepan
2 tbsp plain yogurt (with active cultures) per quart of milk
candy or instant-read thermometer
quart jars and lids
small cooler
dish towels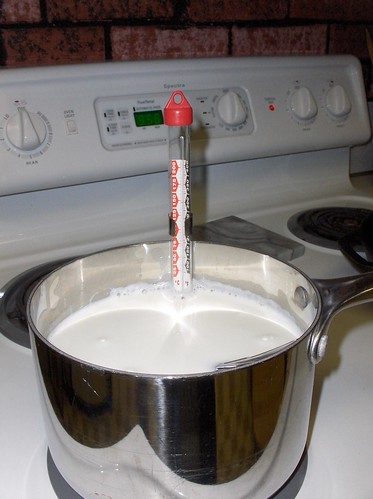
Heat up the milk in the saucepan until it is 180 degrees. 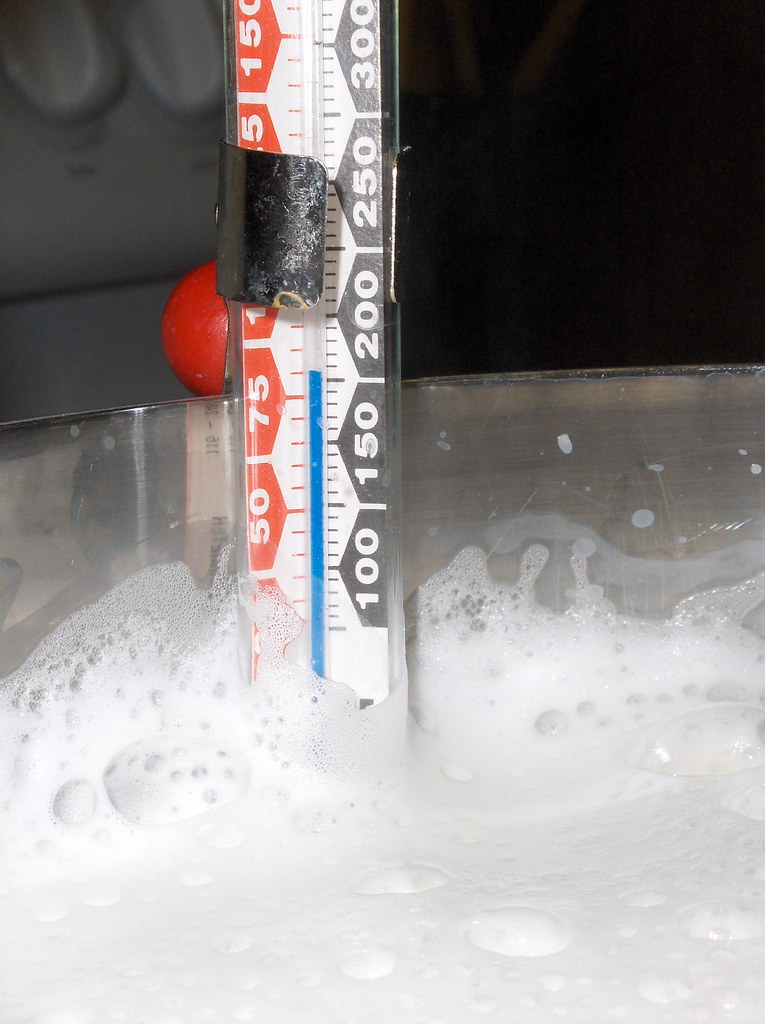
Then move it off the heat and let it cool until it is about 115. Yogurt needs to incubate at 108 degrees, so by the time you get the starter mixed in and the milk poured into the jars, it will be the right temperature. Put your plain yogurt into a bowl. (the picture shows the jar)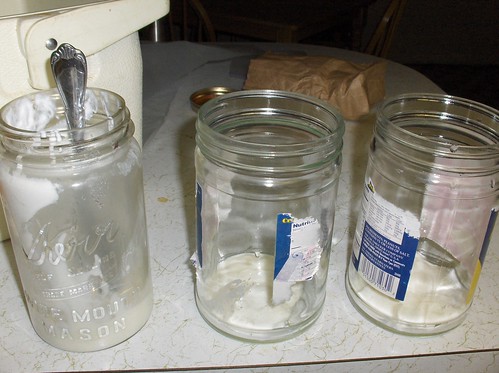
Spoon a little of the warm milk in to bring the yogurt's temperature up. Then pour the yogurt mixture into the milk, stir it thoroughly, and pour it into your jar(s). 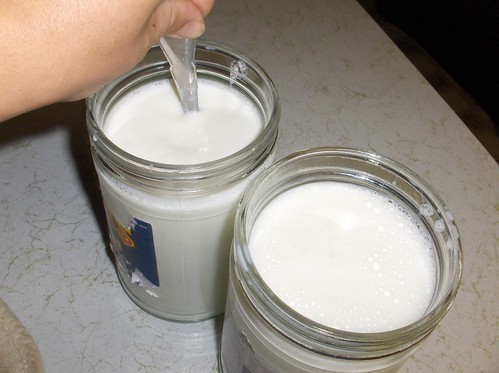
Put the lid(s) on loosely. Put the jar(s) into the cooler, pack the extra space with dishtowels,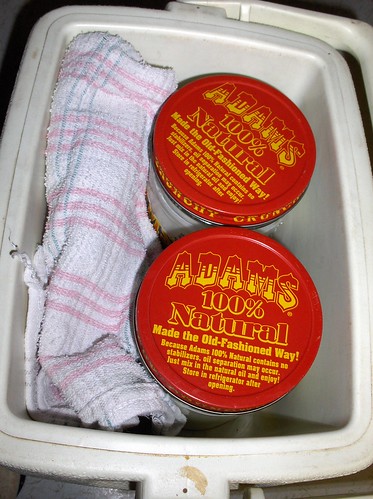
then put the lid on, and let it sit for 5-8 hours. Voila! Homemade yogurt, so little work!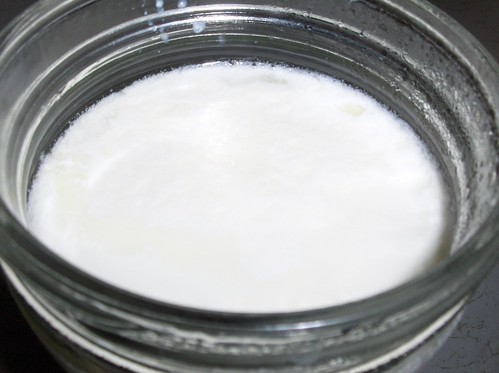
What kinds of milk should you use? Any kind. The higher the fat content, the creamer and richer the yogurt. I recently have been making whole milk yogurt because it makes the smoothies very rich and filling and almost like milkshake. But I also make skim milk yogurt from powdered milk. When making it with powdered milk, I often add extra powder to add extra protein. The advantage of using powdered milk is you don't need to heat it up and cool it. I mix the powder with 120-degree water and proceed as usual.
To flavor your yogurt, stir in some jam, or some vanilla or lemon extract and a little honey or sugar.
Want organic yogurt? Use organic milk. It makes your cost savings even more!
When you get to the end of the jar, save the last 2 tablespoons for your next batch. It's called chain yogurting. You can chain yogurt for a long time before the yogurt won't set up well. If you buy a big container for your starter, you can freeze the excess in ice-cube trays and thaw them when you need fresh starter.
18 January 2007
More soup for you!
I felt like I was coming down with something this morning so after lunch I made up some soup for dinner tonight. It turned out really yummy, and if I don't record the recipe, I'll never remember it despite my best intentions.
Not Your Average Chicken Soup
3 tbsp unsalted butter
1 small to medium onion, finely chopped
2 large carrots, diced
3 celery stalks, sliced
1 cup brown rice
4 boneless skinless chicken thighs
3 quarts water
1 tsp dried basil leaves
3/4 cup alphabet pasta
2 tbsp flour
Melt butter in a large soup pot or Dutch oven. Add vegetables and cook until onions are clear. Add rice and saute for a few minutes. Add chicken thighs and water. Bring to a boil and let simmer for several hours (I did about 4 hours) Add basil and salt and pepper to taste after a couple hours. Break up the chicken thighs with your spoon. Bring soup back up to a boil and add pasta and cook for another 10 minutes or so until pasta is done. Mix flour with a small amount of water and add to soup and return to a boil.
I served this with the Quick Wheat Rolls from my mom's upcoming cookbook. They are more like muffins with a crunchy exterior and were a hit with the entire family. They mix up really quick.
No soup for you!
Frugaldad and I can quote most of the Seinfeld episodes. We can also think of a Seinfeld episode to fit almost any situation. So anyway, I made some soup last night. I started out with Kerflop's recipe but I changed it. Here's my version.
Tangy Potato Soup
6 medium to large russet potatoes. Peel 4, leave the skin on 2, and dice into 3/4 inch pieces
2 cans low-sodium chicken broth
1 8 oz package cream cheese
2 tbsp dried minced onion
1 1/2 cups milk
2 tbsp flour
1 cup cooked, crumbled bacon (I used the precooked kind I buy in a big bag at Costco, about 12 oz bacon cooked would yield a cup of bacon)
Put potatoes, chicken broth, cream cheese and onion in a big soup pot. Bring to a boil. Add milk which has been mixed with flour to dissolve lumps. Simmer until potatoes are tender (15-20 minutes). Season with salt and pepper. Add bacon and serve.
The cream cheese gives it a delightful tang.
16 August 2006
The Salad
I haven't come up with any clever name for this salad, so it will have to be something boring like Tomato-Zucchini Salad. It was inspired by Farmgirl's Colors of Summer Salad and it was really good. It's kind of a girly food, and while Frugaldad loves garden tomatoes as much as I do, he wasn't as impressed (because he is a man, and enjoys MEAT with his dinner, not just some sissy salad) I ate it with homemade pita chips, which were also fantastic, and the recipe for those can be found on the America's Test Kitchen website. If you have more zucchini than you know what to do with (even if you're like me and don't let them get past the "small" size) try this out! I used a Yellow Boy tomato and a Celebrity tomato, and they are awesome varieties. I imagine this would also be good with a little onion (but not too much) and with different beans, too.
Tomato-Zucchini Salad
2 medium tomatoes, seeded and diced
2 small zucchini, diced (unpeeled for color)
1 can black beans, rinsed
1 tbsp fresh basil, sliced in thin strips
1 clove garlic, minced fine or pressed through a garlic press
1 tbsp olive oil
juice of 1/2 lemon (about 1 tbsp)
Mix all ingredients together and let chill for several hours. Serve with pita chips. Makes about 4 cups.
Enjoy! I ate almost all of it myself!
16 May 2006
Not exactly the best thing for the diet
I didn't get any sort of dessert on Mother's Day, so yesterday I decided to make something rich and chocolately. This was the first time I made this recipe, and it was fantastic! Very rich, so you only need a small piece, and then there's still leftovers for tomorrow!
Chocolate Cheesecake Squares
from Everyday Food
Nonstick cooking spray
- Preheat oven to 325°. Coat an 8-inch square baking pan with cooking spray. Line with two crisscrossed pieces of parchment or wax paper, spraying between sheets. Spray lined pan; set aside.
- Process cookies in a food processor until finely ground. Gently press crumbs into bottom of prepared pan (do not rinse processor bowl).
- Blend cream cheese and sour cream in food processor until smooth, scraping down sides of bowl as needed. Add cocoa, cornstarch, sugar, egg, and egg white; process until smooth. Pour into pan; sprinkle with chocolate chips.
- Bake until just set, 35 to 40 minutes; cool completely in pan. Refrigerate at least 1 hour. Invert onto a tray; peel off paper, and reinvert crust side down. Cut into 9 squares
04 May 2006
The Best Macaroni Salad. Ever.

And for your eating enjoyment, a recipe. Frugaldad won't eat any kind of macaroni salad with a mayo dressing. Except this one. I used to make it just for me, and then once he tasted it, and now? We both love this one so much.
Supper on the Porch Salad
2 cups elbow macaroni
1 cup chopped cooked ham
1 cup cubed sharp cheese
1 cup chopped celery
1/3 cup chopped bell pepper (red or green)
1/4 cup sliced green onion
2 tbsp diced pimiento
1/4 cup sweet pickle relish
1/2 cup mayonnaise
1 tbsp mustard
1/4 tsp salt
1/4 tsp pepper
Cook macaroni according to directions, drain and cool. Mix together with ham, cheese, celery, pepper, onion, pimiento, and relish. In a small bowl, mix mayonnaise and mustard, and salt and pepper. Pour over other ingredients and mix lightly. Chill.
Then try and restrain yourself from eating it all in one sitting. Seriously. It. is. that. good.