8 weeks to the day after I plant green bean seeds, I am usually able to go out and harvest beans for the first time. Every few days in the summer I end up canning beans. Want to know how? Read on. Make sure you follow the direction for your own pressure canner, though, and for your own altitude.
First, you'll need one of these. For low-acid foods like vegetables and meats, you have to use one. It gets hotter than boiling so the food is preserved properly.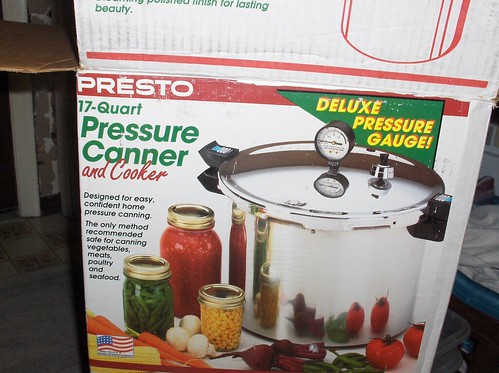
You'll want to read through the directions that come with your canner to familiarize yourself with them, but they are all similar.
Then, I get some clean jars in the clean sink and let them sit in hot water until I'm ready to fill them. If the jars are hot, they are less likely to break when you add hot liquid. I didn't use to do this until one summer half of the beans I did didn't seal. I don't worry about it for fruits, though.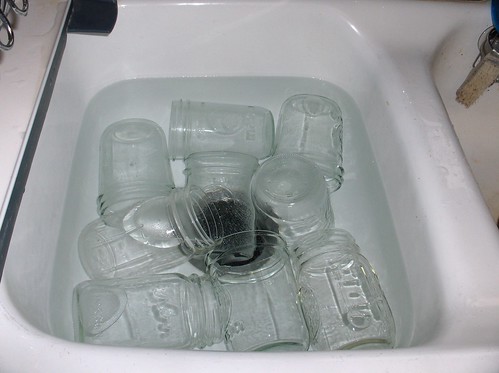
Then you'll want to put some water in your canner and start heating it up. Mine wants about 3 quarts.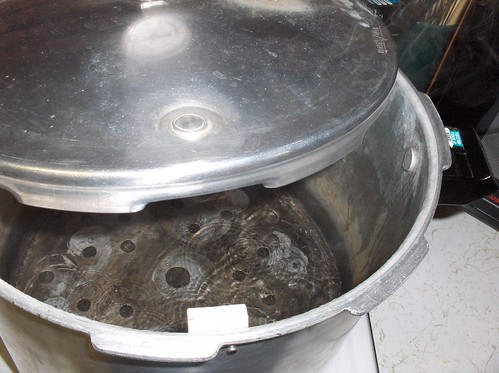
You'll also need some vinegar and some salt. The vinegar helps white mineral deposits from parking themselves on your jars when you pull them out of the canner (especially if you have hard water like me) and the salt is for the beans. You'll want canning/pickling salt because it doesn't have the anti-caking agents that table salt has that can make the liquid in your jars cloudy.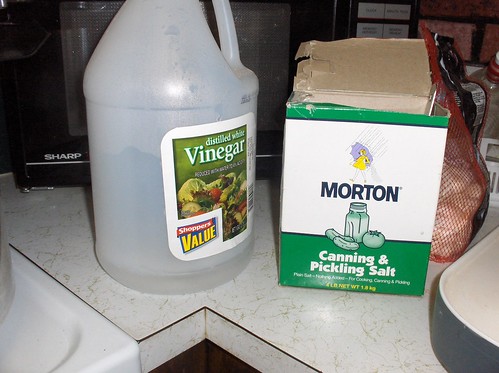
Before you start all this other stuff, you'll want to prepare the beans. Wash them, snap off both ends, and break them into the lengths you want. Smaller pieces fit better into the jars but take longer to prepare. Mine are about 2 inch pieces.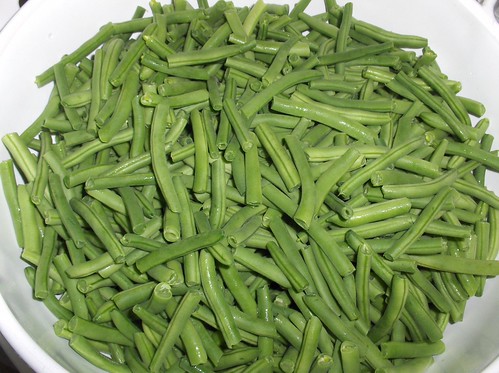
You also want to get a big pot of water on to boil. This is for filling the jars with after we put in the beans. This method of canning is called raw pack. The beans are raw when we put them in the jars. Hot pack would be if we cooked the beans in water and then packed them in the jars.
The next pot you need to get on the stove is a small pan with a little water in it and the flat lids. Follow the directions on the package, but typically you bring the water to a simmer and let the lids sit until you're ready for them.
Canning really heats up the kitchen. Look at all these pots!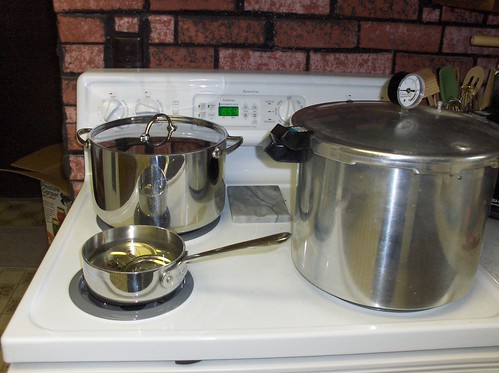
Next you want to start putting the beans into the empty jars. Shake them down a little as you go to fill in any big pockets. But then leave an inch of room at the top. This is called headspace and will help the jar seal.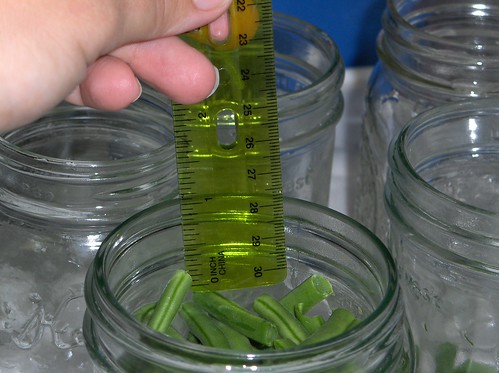
After you have all the jars filled, put some salt in each jar. I use 1/2 teaspoon per pint. You can use less or more or none. That is one of the nice things about preserving your own food.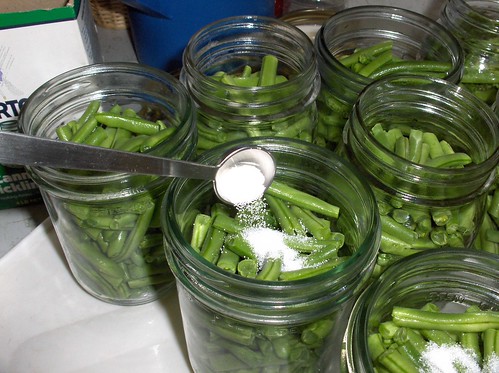
I put the salt in after the beans so I know which jars have salt in them. Also, if you preload the jars with salt and you've under- or over-estimated how many jars you'll need, that's another thing to remember.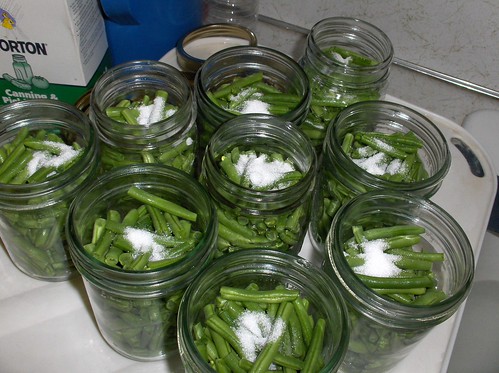
Now add boiling water to each jar, leaving about an inch of headspace (it's not critical to be exact at this point). You can use a wide-necked funnel but when it's just water, I don't mind spilling. For sticky stuff I definitely use the funnel.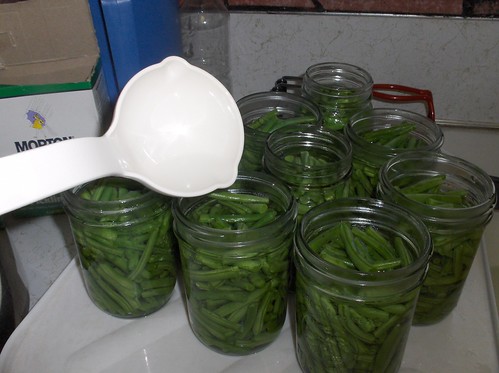
Next you'll take a thin plastic utensil--either a knife or the handle of a spatula (there is a special tool made for this, too, I think) and run it around the edges of the jar to release any air bubbles that may still be trapped. Plastic won't accidentally break a jar like metal could.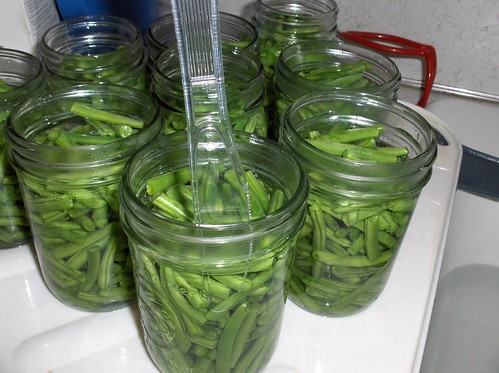
Now measure your headspace again. It needs to be an inch. If you need more, use a spoon to borrow water from the next jar over that looks like it has too much. Or ladle more from the big pot of water. If you have too much, spoon it out.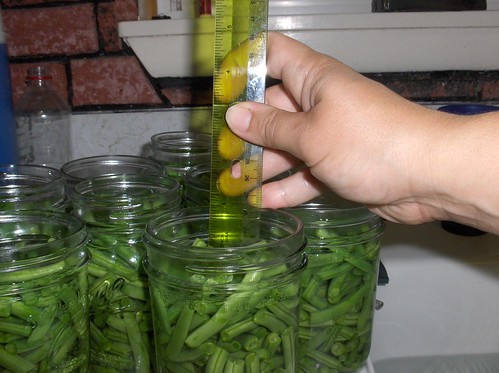
Almost done! Now get a clean rag or washcloth and get it wet and wipe the rims of the jars. This makes sure that nothing gets in the way of the seal.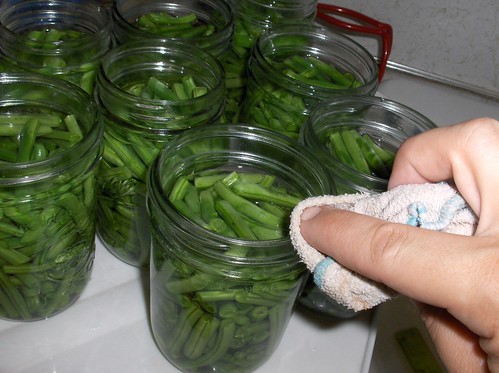
Now it's time for lids. If you don't have one of these nifty magnetic wands, use some tongs or something because you will burn your fingers.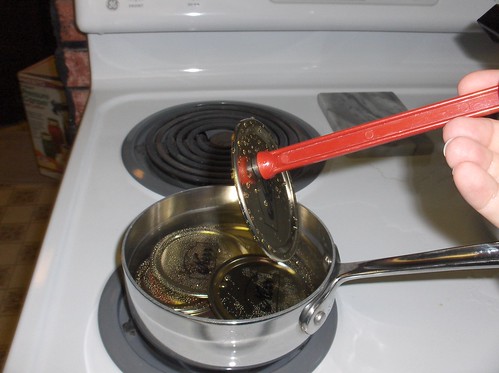
Center the lid on the jar.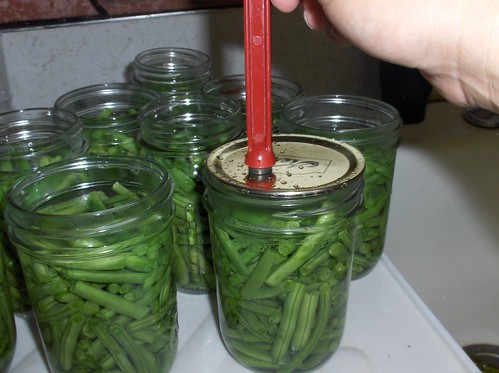
Don't forget that you need to work quickly but don't rush and forget something. Screw the ring on over the lid. When you start to meet some resistance, give it a little more twist. Don't screw them on tight or the air can't escape and let the jar seal.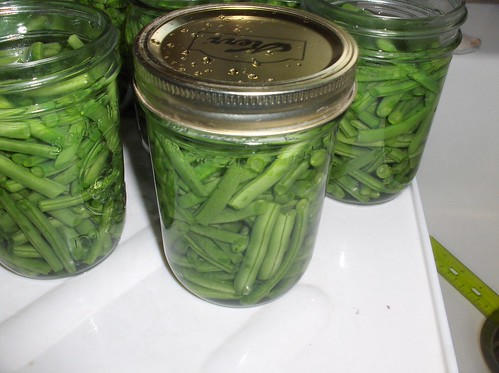
Now put the jars into the canner that has the boiling water in it. These jar tongs are very helpful.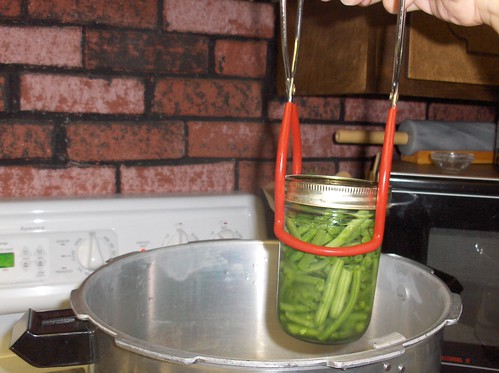
All the jars in the canner. In a pressure canner, it's all right if the jars touch each other. You can even stack small jars on top of each other. I had to cram these in to get them to fit.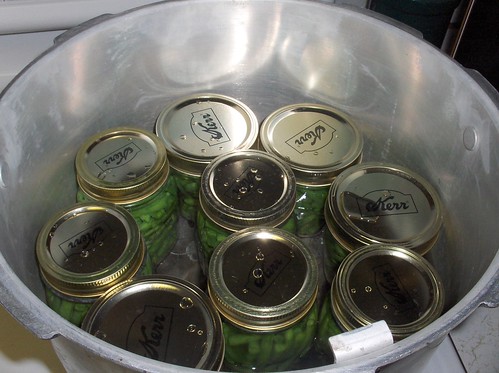
Now I put the lid on and twist it so it locks. Your canner may be different but it will be similar.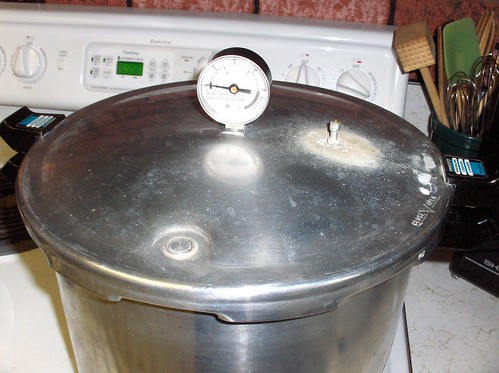
When the steam starts coming out of the vent in a steady stream, set the timer for 7-10 minutes. This exhausts all the air out of the canner.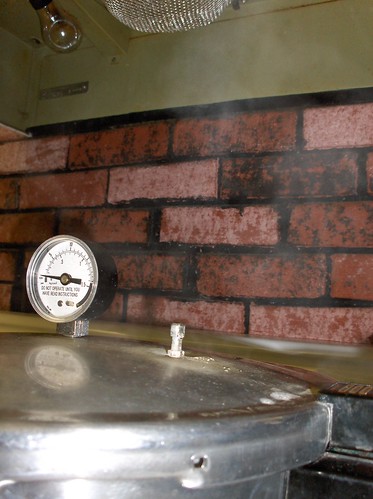
When the time is up, you put the pressure regulator on. This will allow the pressure to build up inside. The little button on the lid of this canner pops up to let you know there's pressure in there.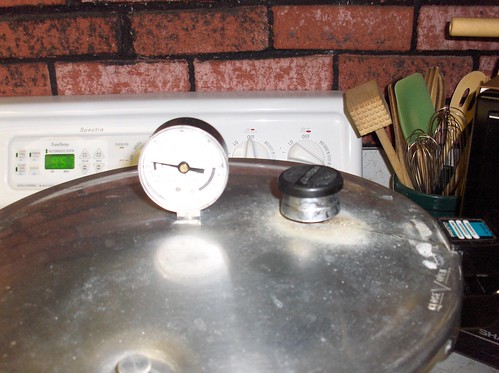
The dial will start turning. When it gets to 12 pounds, I start the timer. Most instructions in canning books are for 10 pounds. Then you add pounds to adjust for altitude. Here in the Boise area we can at 12 pounds. Set the time for 20 minutes. If the dial should happen to go below 12, stop timing and restart again when it gets back to 12. I always reduce the heat because the dial keeps going up. I haven't perfected it yet to keep it at 12, but too much pressure is fine.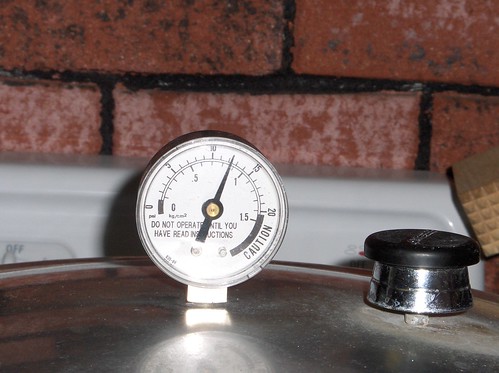
When the timer rings, remove the canner carefully from the heat. Now let it sit until the dial reaches 0 and the little button drops, indicating there's no pressure left in the canner. Don't try to let any pressure out by tipping the regulator or cool it quickly by putting it in water. You'll just break the jars and probably burn yourself.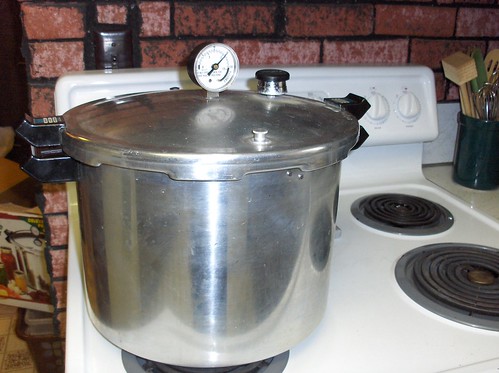
When the pressure is gone and the button drops, remove the regulator and carefully open the canner away from you.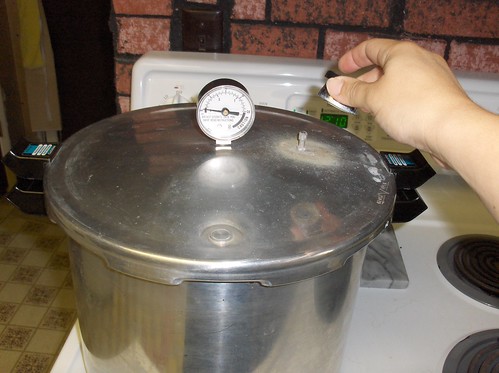
Lift the jars out one at a time, trying to keep them level.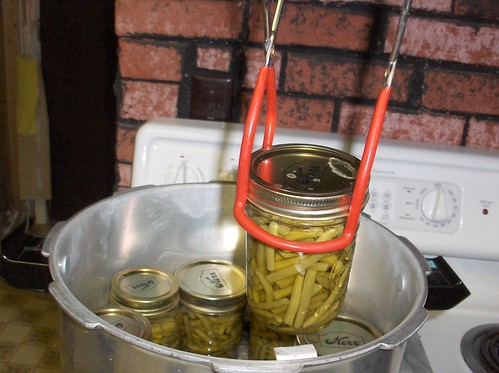
Put the jars on clean towels at least an inch apart so they can cool. Leave them until they are completely cool.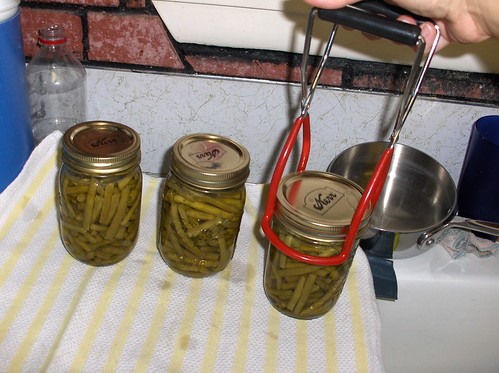
Now let them cool for up to 24 hours. Usually I wait 10 or 12. They'll be room temperature.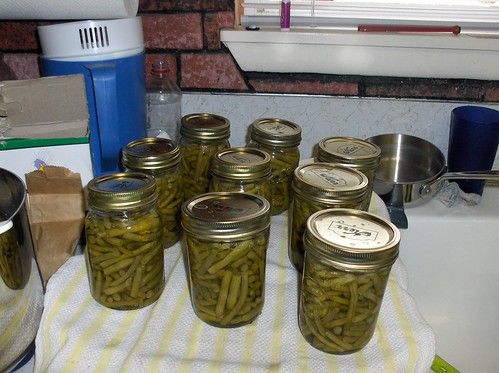
When they're all cool, wipe the jars off if they're dirty (not usually with beans, but peaches will practically require a bath) and write the date on the lids. If you did more than one batch in a day, label the batches with numbers or letters so you know which is which. Also check to make sure that the center of each lid is down (it doesn't pop up and down when you press it) to check the seal of each jar. I have found that the longer it takes me to get the jars out of the canner, the better they seal. I had to run a quick errand while these beans were depressurizing so I didn't take them out right away. They had all sealed before I even opened the canner. But if you rush to get the lid off, then get them out quickly, they are more likely to not seal. So go check your email before you take the jars out of the canner. Also, before you store the jars, remove the rings.
If you have some jars that didn't seal, you can either re-process them with new lids and rings or you can put them in the fridge and eat them in the next couple days.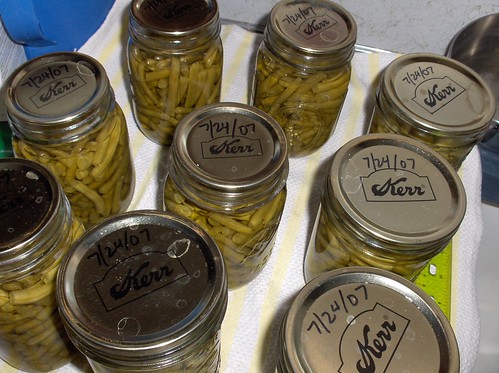
When you're ready to eat them, as an extra precaution, it is recommended to boil the beans for at least 10 minutes since they are low-acid. I add a pat of butter and serve them to my hungry kiddos!
25 July 2007
How to Can Green Beans
![]()
Subscribe to:
Post Comments (Atom)
3 comments:
Thanks for the great tips, I haven't canned veggies yet or used a pressure canner, it doesn't look as hard as I thought :).
Hopefully next year I'll be able to join you in the crazy bean canning time, hehe.
That was seriously the most interesting thing ever! I've been afraid to can b/c I remember lots of cursing and broken glass when my mom was canning. LOL!
Makes me want to try it! Now that we know we'll be in this house for a few years I think I can finally do a real dig-in-the-dirt garden!
Post a Comment